

ChatGPT has long ceased to be just a “smart chatbot for fun.” For many, it has become a work tool that saves hours of routine: from writing emails to analyzing data. However, most users only use a small part of its capabilities, working by default without any settings. It’s like buying a professional camera and only shooting in the automatic “green zone” mode.
In this article, we’ll look at how to properly configure the interface, use custom instructions, and use built-in features to get consistently high-quality results rather than random lottery answers.
Why configure ChatGPT before you start
Many people complain that the neural network “gets dumb,” “makes up facts,” or “doesn’t understand the task the first time.” In nine cases out of ten, the problem is not the model but how the request is formulated and what settings are set by default.
Configuration solves three key tasks:
- Context. The model stops guessing who you are and what you need — it gets a knowledge base about your field.
- Style stability. ChatGPT doesn’t “forget” mid-dialogue what tone it should use (formal or friendly) and doesn’t slip into bureaucratic language.
- Time savings. You don’t have to rewrite the input data every time (for example, “you are a technical blog editor”) — the system will remember it automatically.
Basic interface and account setup
Before moving on to advanced features, it’s worth understanding the basic parameters available in every account.
Managing chat history
Chat history is a double-edged sword. On the one hand, it lets you return to old tasks and continue working. On the other hand, it clutters the interface if you generate many one-off responses.
You can disable history saving for a specific session. This is useful when you’re working with sensitive data or simply don’t want to clutter the sidebar with dozens of similar chats. Note that when history is disabled, the model won’t be able to “recall” details from your old conversations.
Choosing a model version
Depending on your plan and current tasks, it makes sense to choose different model versions. For example, for simple questions and quick answers, a lightweight, fast version is better. For complex analysis, long-form writing, or programming, it’s worth choosing a “smarter” and heavier model that takes more time to process the request.
Don’t be afraid to switch between models within a single conversation — this is allowed and often convenient. The main thing to remember is that different versions may interpret the same request differently, so if you switch models mid-task, it’s worth clarifying the context.
Tone and style of responses
In the chat settings, you can set the model’s basic behavior. For example, you can specify that answers should be brief or, conversely, detailed with examples and explanations. This isn’t a hard rule, but rather a direction vector. If you write a request like “explain how blockchain works” and get too vague an answer, clarify the desired level of detail in the settings, and the model will adapt.
The power of Custom Instructions: how to train ChatGPT for yourself
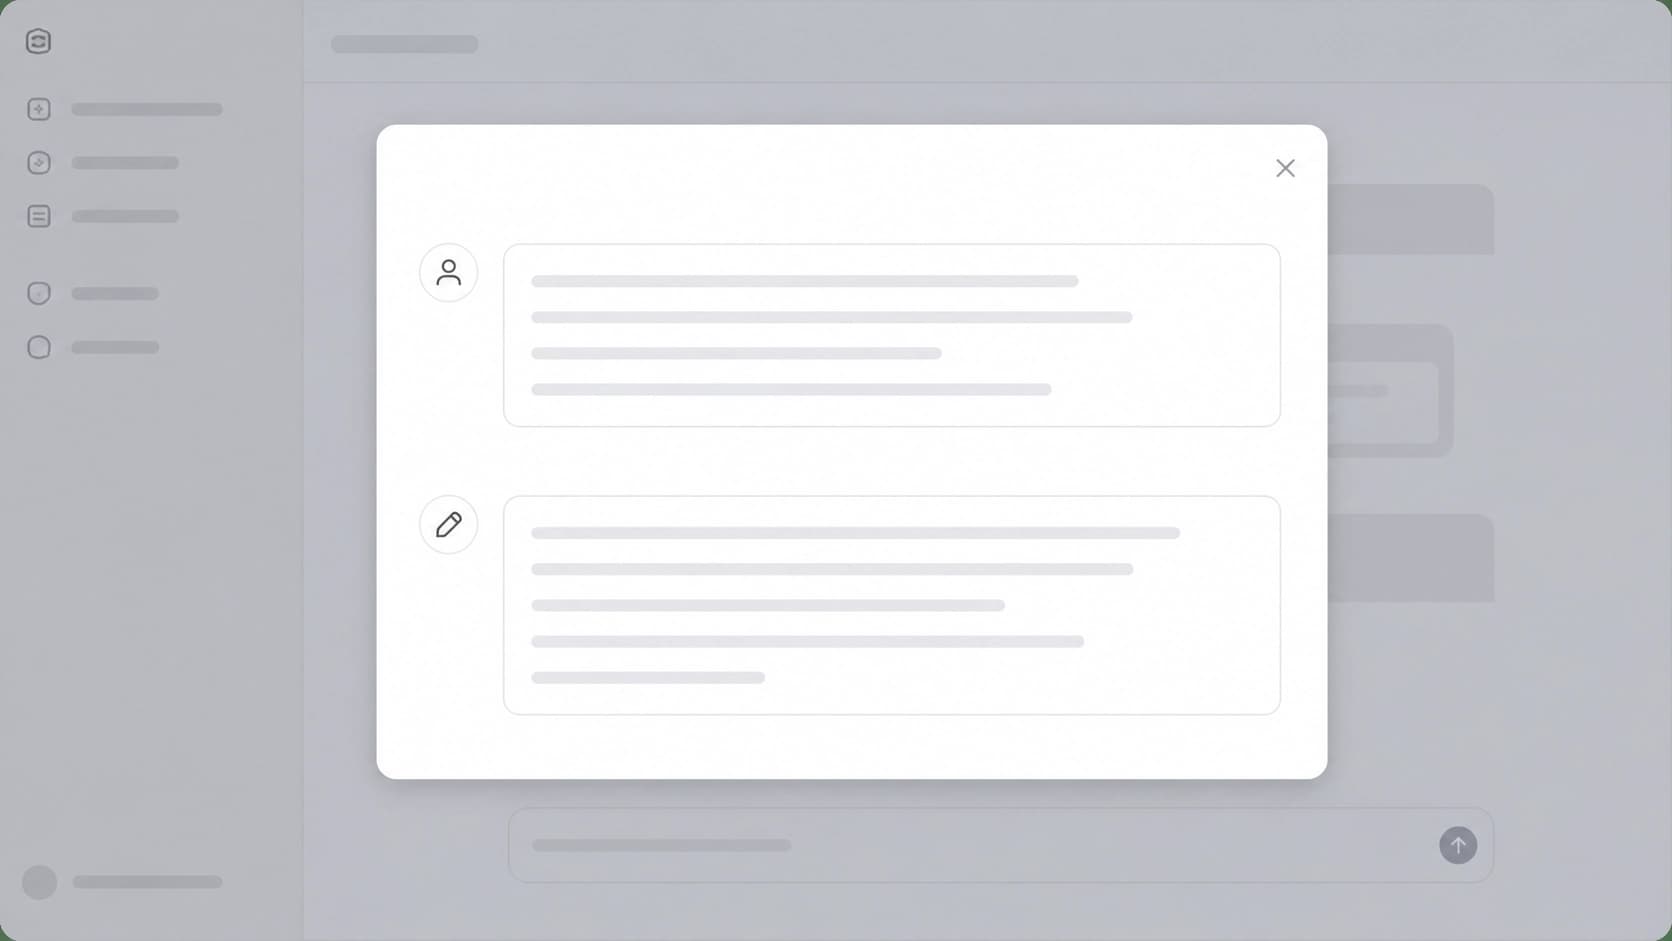
The Custom Instructions feature (which may be called “Пользовательские инструкции” in the Russian version) is perhaps the main secret of productive work that not everyone knows about. It lets you set permanent rules that the model will take into account when generating every response.
What to write in the “About you” field
The first instruction field is usually dedicated to information about the user. Here you should specify:
- Your profession and field of activity (for example, “I’m an HR manager at an IT company”).
- Your level of expertise in the topic (beginner or expert).
- The languages you communicate in.
- Your preferred response format (lists, tables, short paragraphs).
Example: “I’m a marketer working with B2B products. I write in Russian, but sometimes I need translation into English. I prefer answers in the form of structured lists with numbers and facts.”
What to write in the “How to respond” field
The second field is instructions to the model on how to structure answers. Here you can specify:
- Tone of communication (friendly, official, expert).
- A ban on certain words or phrases.
- A requirement to always provide examples or calculations.
- A request to ask clarifying questions if the task is ambiguous.
Example: “Answer in Russian. Never use filler phrases like ‘as I already said.’ If there isn’t enough information to answer, ask a clarifying question. At the end of each answer, give a short summary.”
How instructions affect response quality
Properly configured instructions reduce the number of clarifying questions you need to ask. You stop writing “no, I meant something else” and get a relevant result on the first try. This is critical if you use ChatGPT for content generation, where style and tone of voice matter most.
 Step-by-step guide to setting up ChatGPT for a specific task
To keep you from guessing, here is a universal algorithm that will work for configuring ChatGPT for any professional task — from writing articles to analyzing code.
Step 1. Define your goal
Clearly state what you want to get as the output. Is it a marketing plan, technical documentation, or a dinner recipe? Write the goal down in one or two sentences.
Step 2. Specify the role and context in the first request
Don’t start a conversation with “Write an article.” Start with a role: “You are an experienced SEO copywriter who writes in plain language for beginners.” The more detailed the role, the more accurate the answer.
Step 3. Fill in Custom Instructions (if the task repeats)
If you plan to work with ChatGPT on an ongoing basis in one field (for example, running a finance blog), put the basic rules into the settings. This will save you from having to describe the role and requirements every time.
Step 4. Clarify the output format
Tell the model what form you want the result in: a table, a list, or connected text. If you need text, specify the approximate length. If you need numbers, ask it to show the calculations.
Step 5. Give an example (few-shot)
The most underrated way to configure ChatGPT is an example. If you want the model to write in a certain style, give it one or two samples of your text and ask it to imitate them. This works better than any verbal description.
Step 6. Check the result and give feedback
Don’t be afraid to criticize an answer. Write “redo it, it’s too dry” or “add more examples.” The model learns from your edits within a specific session, and subsequent answers will get better.
Useful features that boost productivity
In addition to the basic settings, ChatGPT has a number of built-in features that often go unnoticed.
Uploading files
You can upload files to a chat (text documents, spreadsheets, PDFs) and ask the model to analyze their contents. This is convenient for:
- Summarizing long reports.
- Extracting key points from articles.
- Checking grammar and style of finished texts.
It’s important to understand: the model processes the text from the file as context, but doesn’t “remember” it forever. For large documents, it’s better to ask targeted questions rather than ask it to retell everything at once.
Voice input
If you prefer dictating to typing, use voice input. The model recognizes Russian speech quite well, which speeds up generating ideas or drafts. This is especially useful when you need to quickly capture a thought without getting distracted from other things.
Working with conversations and branching
ChatGPT lets you “rename” conversations and return to them through the sidebar. This is convenient for managing several projects at once. You won’t get confused about where you have a draft of a letter and where you have a competitive analysis.
Using links to external resources
If you mention a real company or service in your request and need up-to-date information, the model can (depending on the version and settings) give you a link to the official website. For example, if you ask about the terms of use, ChatGPT may point to the official OpenAI website. This is useful for manually verifying facts, but remember that the model may not always show links, so you shouldn’t rely on it alone.
Typical setup mistakes and how to avoid them
Even with perfectly written instructions, users manage to set up the interface in a way that makes it harder to work with. Here are common mistakes.
Instructions that are too long
Trying to cover everything overloads the model. It starts “overfulfilling” the plan and responds with complex sentences that are hard to read. Keep instructions concise and specific. It’s better to add details in the request itself than to build them into the global settings.
Ignoring context at the beginning of a conversation
Custom instructions don’t replace the need to explain the task in each new chat. If you’re starting a new project, spend 30 seconds describing the goal. That will save you hours of rewriting later.
Not fact-checking
No matter how well you configure ChatGPT, it can make mistakes. This especially applies to current events, exact figures, and names. Always double-check critically important data against primary sources.

 Limitations worth remembering
Configuration isn’t magic. There are things ChatGPT won’t be able to do even with perfect settings:
- Connecting to the internet in real time to check breaking news (unless your version provides this).
- Impeccable grammar: the model can still make mistakes in rare language constructions.
- Fully replacing a professional editor or lawyer: the model is good for a draft, but not for the final review of a contract.
Treat ChatGPT as a very capable but inexperienced assistant. Configuration is your way of explaining the rules of the game to it. Once you get the “communication” right, productivity will multiply, and routine tasks will stop being annoying.
Start small: fill in Custom Instructions, try different response formats, and experiment with examples. In a few days, you’ll notice that you formulate requests almost automatically, and the quality of responses steadily improves.