Why local deployment makes sense
The online version of DeepSeek R1 sometimes has hiccups: the service gets overloaded, and you have to wait noticeably longer than usual for an answer. Installing it locally solves this problem once and for all — the model will be on your disk and will no longer depend on the state of someone else's servers. No queues, no limits, and no "try again later" messages.
The process may seem complicated from the outside, but in reality it all comes down to three steps: install a model manager, download the model itself, and add a convenient interface.
Step 1. Installing Ollama
Ollama is a sort of manager for local language models. It downloads, runs, and switches LLMs with a single command, so it's a perfect fit for our task. All versions of DeepSeek R1 are available through it for free.
Here's what to do:
- Download the installer from Ollama's official website — for Windows, it is about 700 MB.
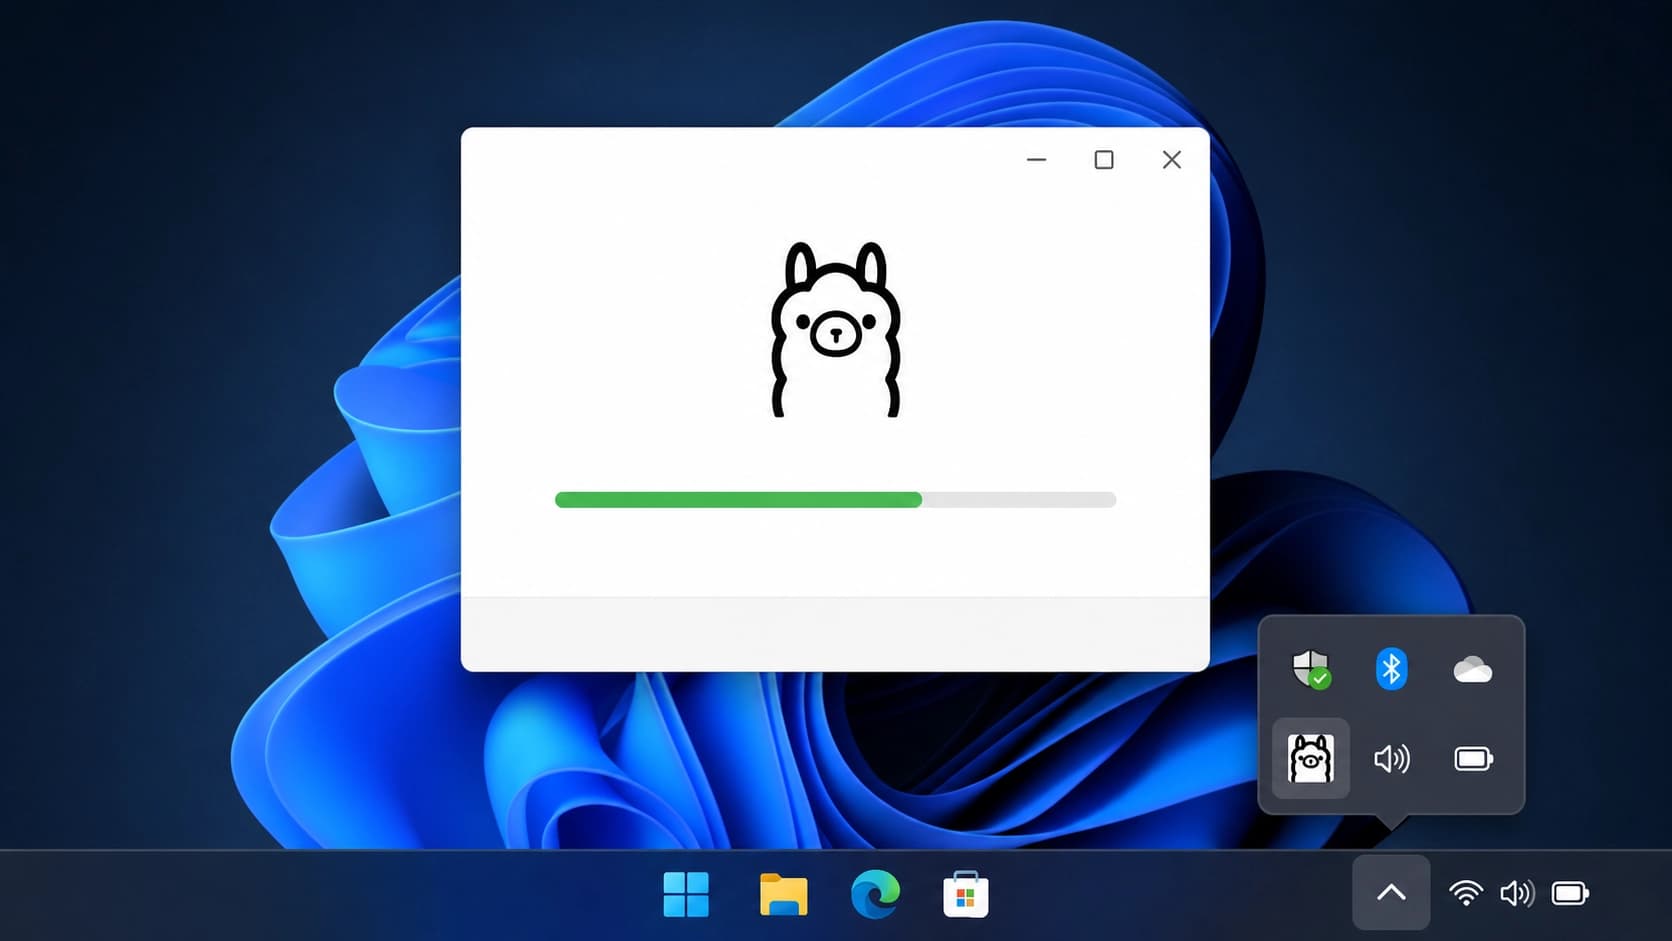
- Run the installer and wait for it to finish.
- After installation, the Ollama icon will appear in the system tray — a sure sign that everything is working.
Step 2. Downloading DeepSeek R1
Open the Ollama website, go to the Models tab, and find DeepSeek R1. There are many versions, and the choice depends directly on your hardware:
- if you have a small amount of video memory, pick a smaller model — it won't hit VRAM limits;
- if the output is too slow, try a lower version;
- the 7B variant is the most popular and balanced choice for a first run.
On the model page, copy the install command, and then:
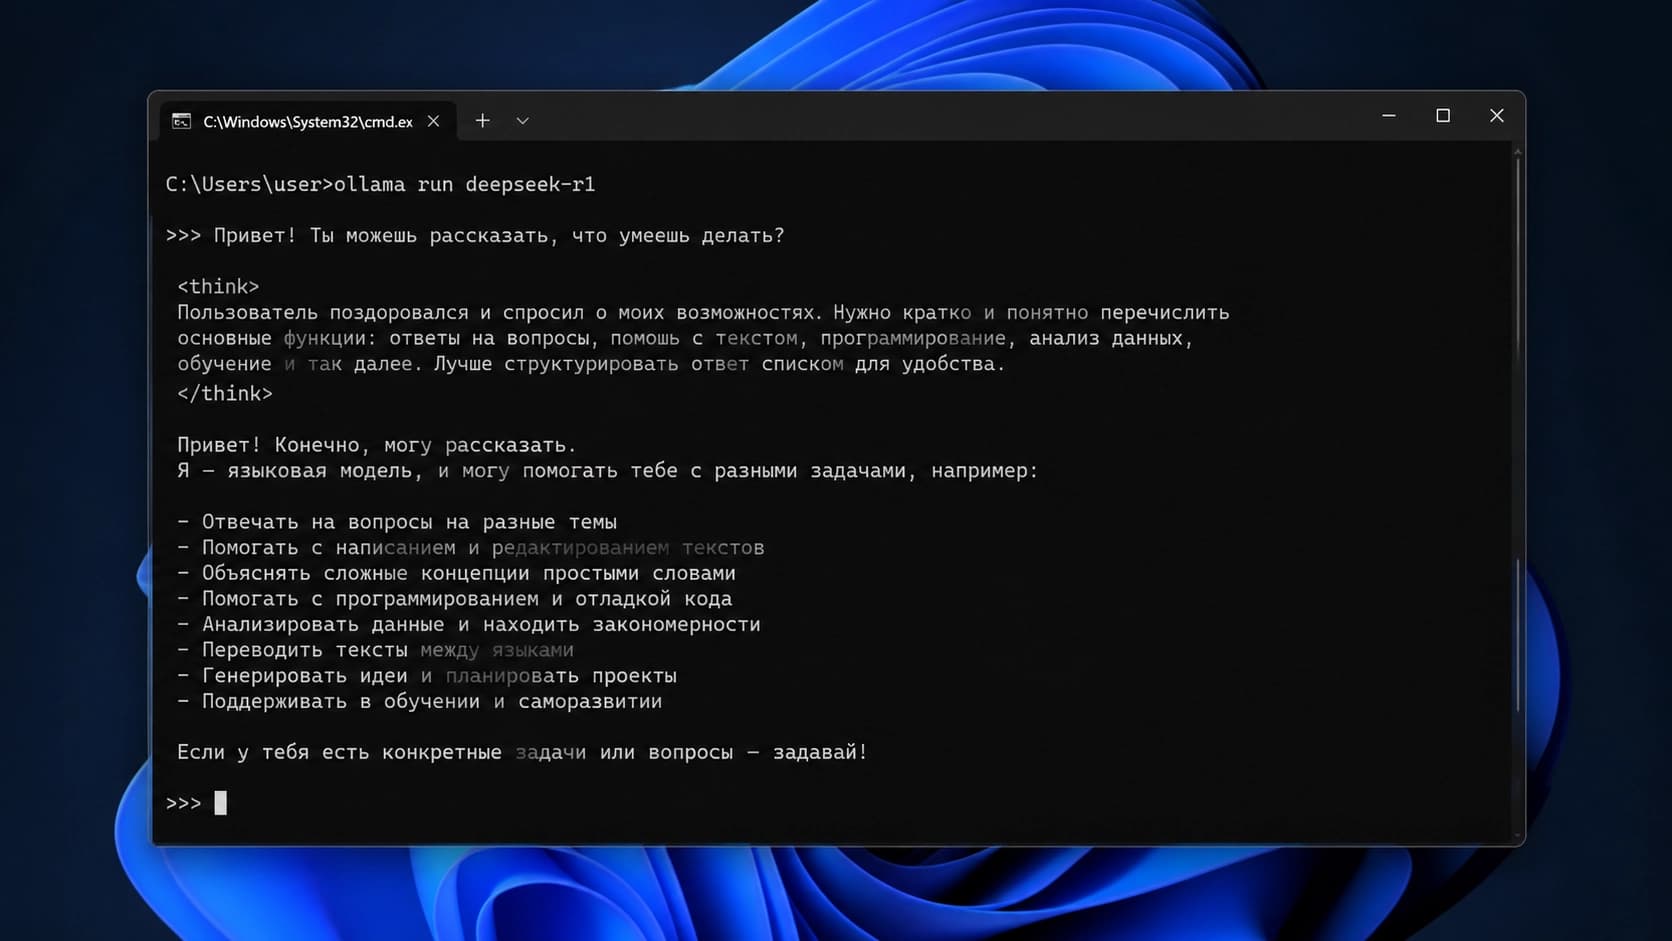
- Open PowerShell, or press Win+R and type
cmd. - Paste the command into the terminal and press Enter.
- Ollama will automatically download and deploy the model.
Right after that, you can ask questions directly from the command line. While the model processes a request, a Think marker appears in the output — that's what its "reasoning" looks like before it answers.
Step 3. Adding a browser interface
Chatting in the console is functional, but it quickly gets old — you want a familiar ChatGPT-style dialogue. The Page Assist extension for Chrome will help. Look for it in the Chrome Web Store — the first search result will do.
Then follow these steps:
- Click the Page Assist icon in the top-left corner of the browser.
- Select the installed model.
- In the settings (top right), enable RAG Settings and specify a model for Embedding Model.
- Save the changes.
The extension also has some nice bonuses. In the bottom-left corner, you can enable web search — the model will be able to pull fresh data from the internet. And if you have several models installed, you can easily switch between them right from the interface.
The bottom line
The result is a full-fledged offline chat: no delays, no dependence on external services, and a convenient browser interface. It's worth spending a little time on setup once — and the model will always be at hand.