What is this editor and why does installation take five minutes
Cursor is an AI code editor based on VS Code. It suggests code, explains errors, can refactor entire chunks of a project, and works with different models. The editor is also compatible with extensions, themes, and settings from VS Code, so switching to it is almost painless. And installation takes just two to five minutes — depending on your operating system.
System requirements in 2026
To keep Cursor running smoothly, it's worth checking your computer's specs in advance. Here's the minimum set:
- Operating system: Windows 10/11 (64-bit), macOS 10.15 Catalina and newer, Ubuntu 20.04+ or similar Linux distributions (Debian, Fedora, RHEL).
- RAM: 4 GB is the lower limit, 8 GB is the recommended amount, and for large monorepos, 16 GB is better.
- Disk space: the editor itself takes up about 2 GB. If you work with large projects, indexes can grow up to 30 GB.
- Processor: x64 or ARM64. On Mac, both Intel and M1–M4 chips work; on Windows with ARM — laptops on Snapdragon X.
- Internet: a stable connection. AI features won't work offline, although the editor itself can be launched offline.
No VPN is needed for installation — downloading and launching work without any extra setup.
Downloading: official website and choosing a build
You can download Cursor only from the official website cursor.com. The Download button automatically detects your operating system and processor architecture, but it's better to double-check the selection manually — the automation sometimes makes mistakes.
The installer size ranges from 150 to 250 MB, and there are several build options:
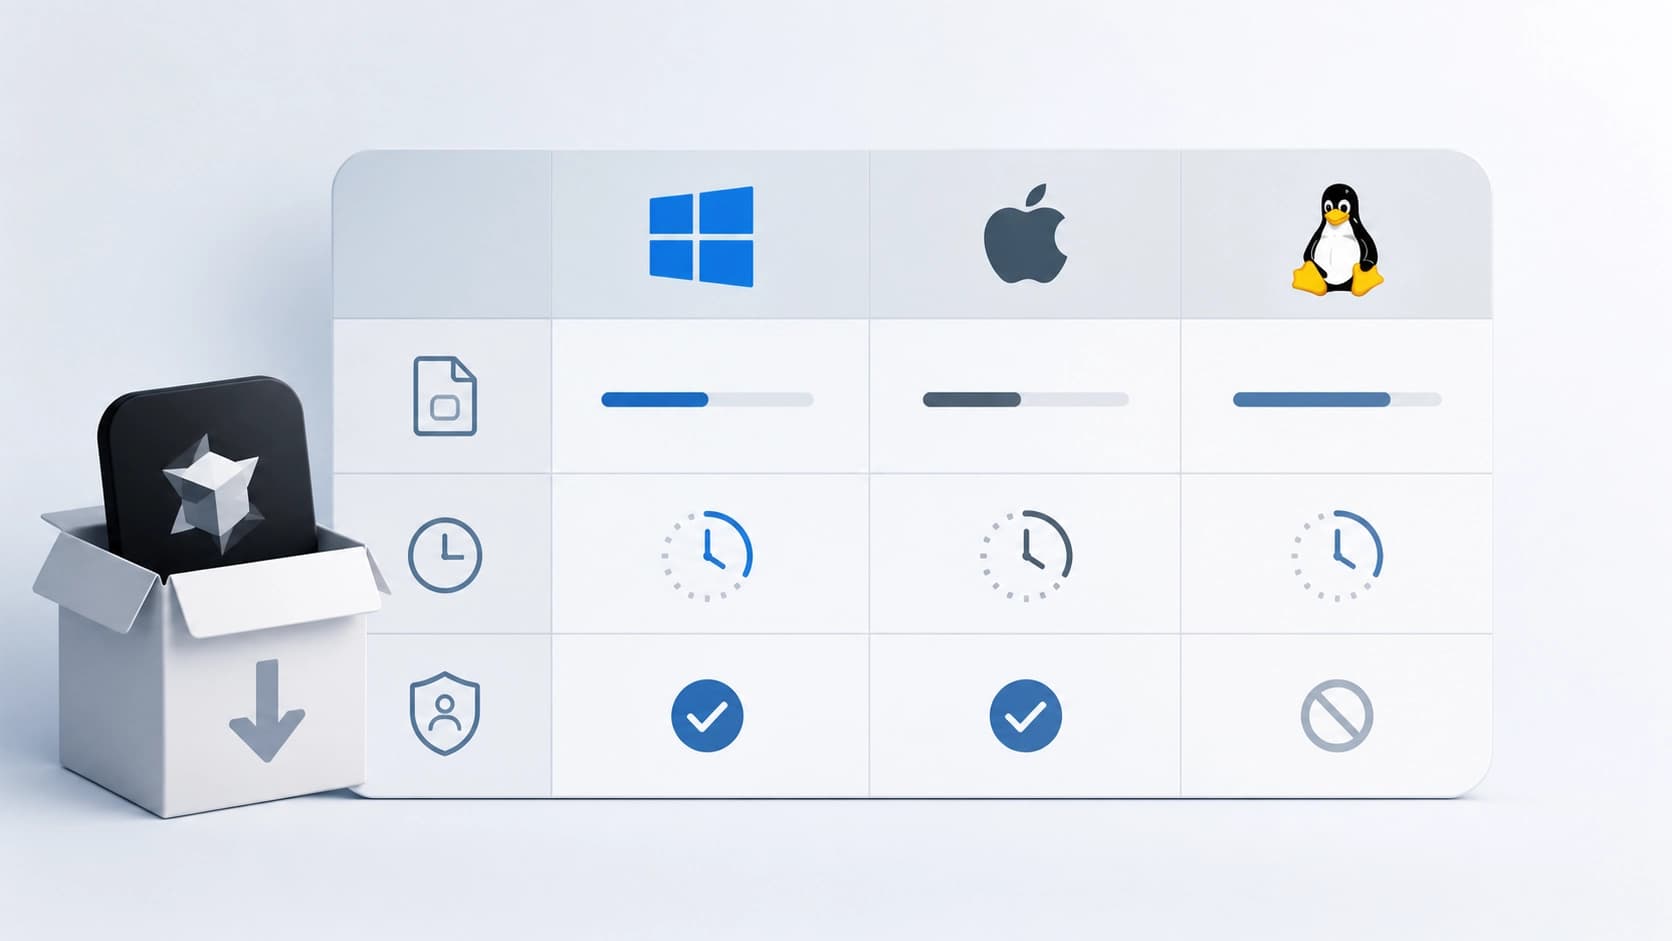
- macOS: a separate version for Apple Silicon (arm64, about 180 MB) and for Intel (x64, about 180 MB). There's also a universal build (~250 MB) that runs on any Mac but weighs about 70 MB more.
- Windows: a User installer (installs into the user profile, no admin rights needed) and a System version (into Program Files, requires admin rights). ARM builds are available for Snapdragon X laptops.
- Linux: AppImage (a portable format that runs without installation), .deb for Ubuntu/Debian, and .rpm for Fedora/RHEL.
Installing on macOS
On Mac, it all comes down to three steps. First, open the downloaded .dmg image and drag the app icon into the Applications folder. Then launch Cursor via Launchpad or Finder. On first launch, the system may warn that the app was downloaded from the internet — just click Open.
If Gatekeeper blocks the launch and says the developer cannot be verified, go to System Settings → Privacy & Security, scroll down, and choose Open Anyway. An alternative is to run the command xattr -cr /Applications/Cursor.app in the terminal. On Macs with M1/M2/M3/M4 chips, the editor runs natively, without Rosetta.
Installing on Windows
Installing Cursor on Windows is almost no different from installing a regular program. Run the downloaded installer: for the User version, no admin rights are needed. The wizard will guide you through the steps: choosing a folder, creating a desktop shortcut, adding to the Start menu. In 30–60 seconds, everything will be ready.
If your antivirus or Windows Defender starts complaining about a fresh build — don't panic. Just add the installer folder to exclusions (Windows Defender → Manage settings → Add an exclusion). The installer will add the cursor command to PATH itself, so after installation you can launch the editor from any folder in the terminal.
Installing on Linux
Installing Cursor on Linux depends on the format of the downloaded file.
- AppImage: make the file executable —
chmod +x Cursor-*.AppImage— and run./Cursor-*.AppImage. On Ubuntu 22.04 and newer, the libfuse2 library may be needed; install it withsudo apt install libfuse2. On first launch, AppImage will offer to add itself to the application menu. - Debian/Ubuntu (.deb): install the package with
sudo dpkg -i cursor_*.deb, then runsudo apt install -fto pull in dependencies. - Fedora/RHEL (.rpm): use
sudo rpm -i cursor-*.rpm.
Note that .deb and .rpm require admin rights, while AppImage works without installation or privileges.
First launch and setup
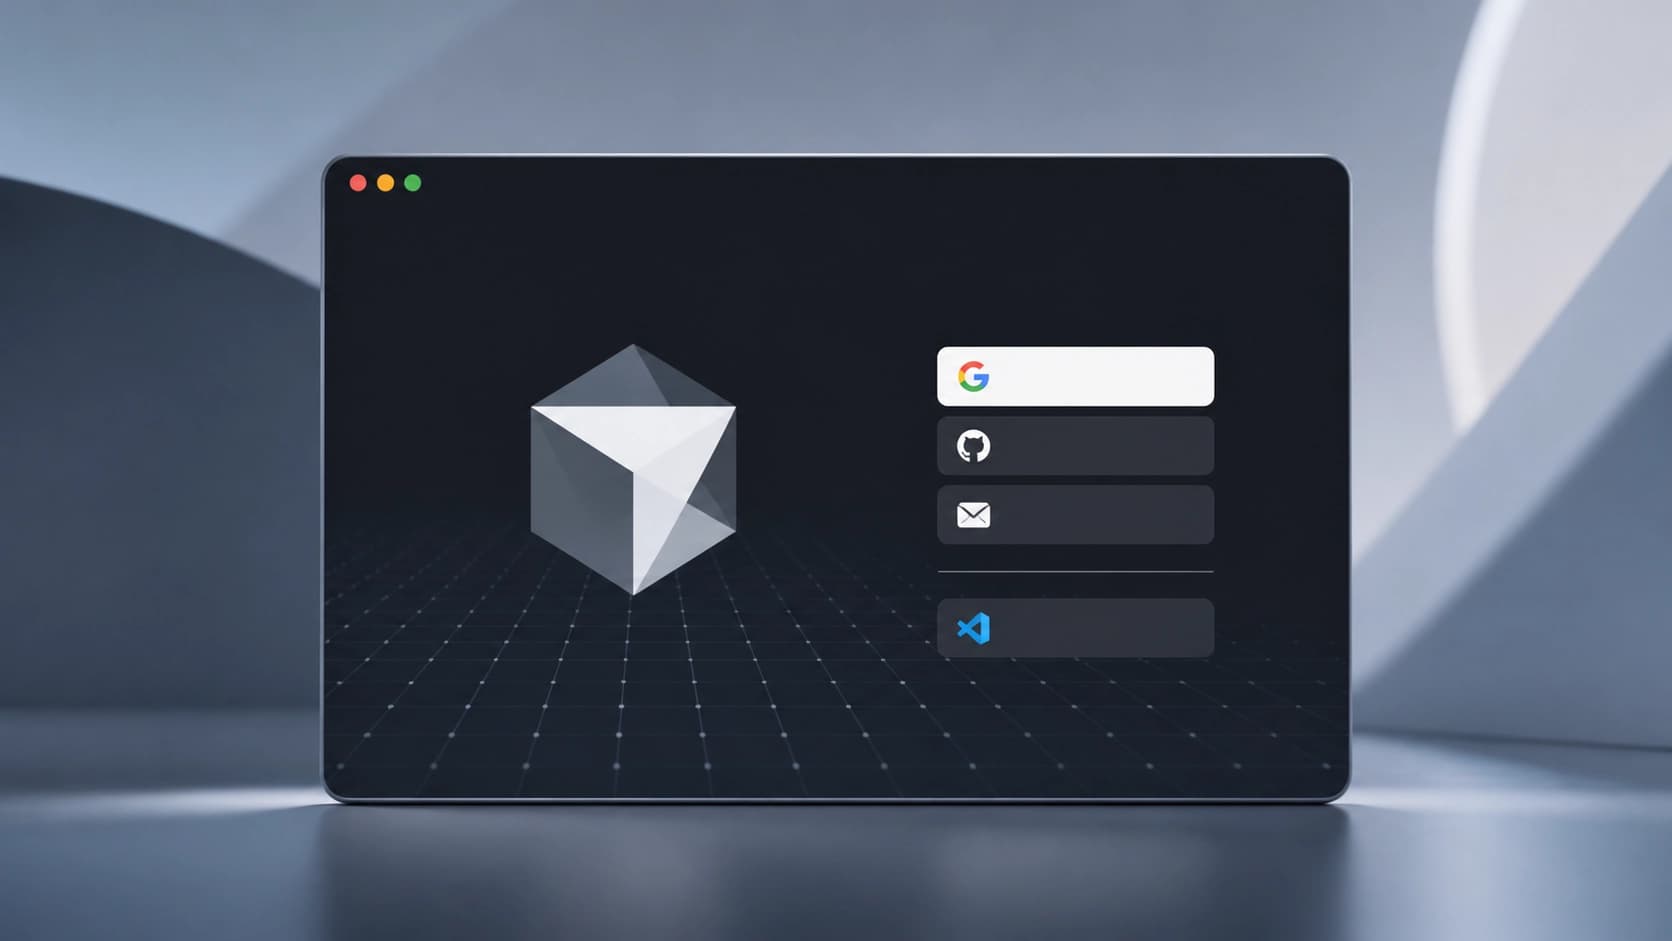
After launching, the editor will offer to sign in via Google, GitHub, or email. Without an account, AI features won't work, but the editor itself can be used like a regular one. Right after signing in, Cursor will offer to import settings from VS Code — extensions, themes, and keyboard shortcuts will be pulled in automatically.
To launch the editor with the cursor command from the terminal, press Cmd+Shift+P (or Ctrl+Shift+P on Windows/Linux) and select "Install 'cursor' command in PATH". If you don't want to send telemetry, disable it in Settings → Privacy & Security → Privacy Mode. In this mode, your code is not sent to model providers and is not used for training.