Getting to know the neural generator
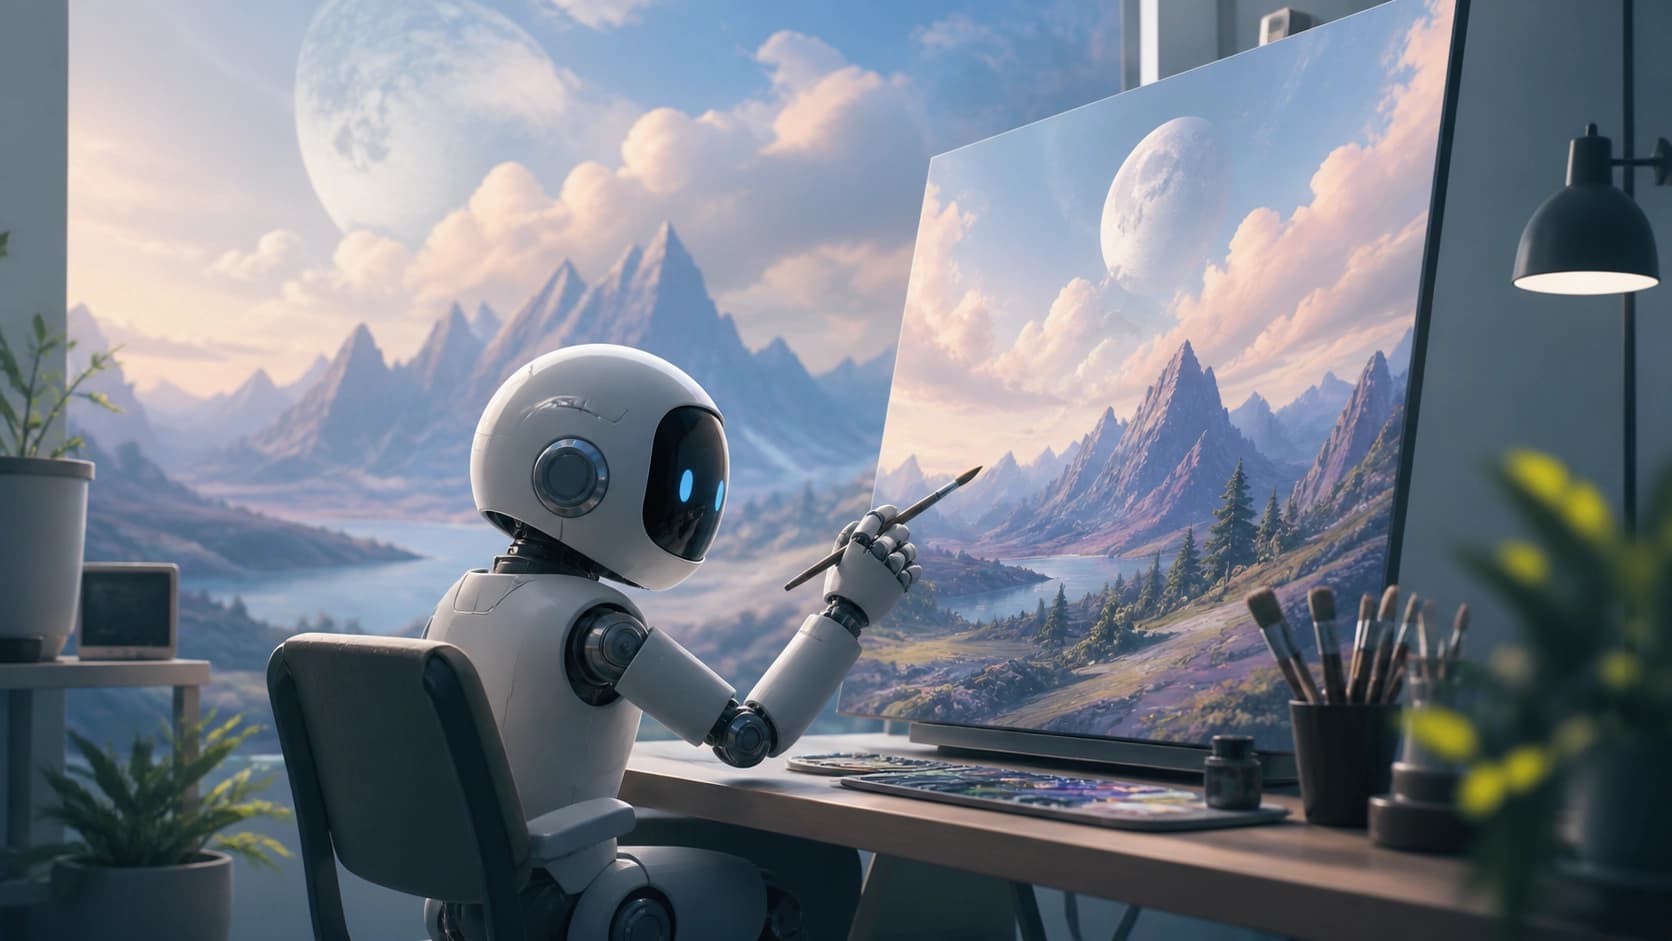
MidJourney is a neural network image generator created by the MidJourney, Inc. team from San Francisco. The project launched in July 2022 and has since become one of the most popular tools for creating art from text descriptions. The service is built on large language models and diffusion algorithms: they turn an ordinary phrase in English into a finished, high-quality illustration.
How does it work? First, the language model analyzes the prompt and breaks it down into meaningful parts: object, action, style, and environment. Then the diffusion algorithm starts with a noisy image and gradually removes the extra noise until a complete image emerges. That's why it's so important to phrase your prompts correctly—what exactly the neural network “sees” depends on them.
The generator is controlled right in Discord—a messenger where you interact with the bot using commands. Initially, newcomers could try everything for free, but now the service works on a subscription basis. The minimum plan costs $10 per month.
Where can this be useful? Almost anywhere images are needed: in marketing and advertising, for visualizing products before they are created, for illustrations in blogs and articles. Designers use the neural network for branding and logo development, while architects and decorators use it for interior sketches. It's a versatile tool that saves hours of work and lets you quickly try different concepts.

Getting access
To get started, you need a Discord account and an active subscription. For MidJourney, this is mandatory—without Discord, you simply won't get to the server where the bot lives. At the same time, the messenger itself serves as both interface and community: here you can look at others' work, chat, and get inspired.
Signing up for Discord
If you don't have an account yet, go to discord.com and create one—it's free and takes a couple of minutes. Already have one? Then skip this step. After that, go to the official MidJourney website and click the “Join the Beta” button. It will automatically redirect you to a Discord invitation. Accept the invitation and authorize the bot to get access to the community server.
Choosing a plan
On the MidJourney server, you'll be asked to choose a subscription plan. The basic one starts at $10 per month—enough for the first few dozen generations and to see whether the tool suits you. You can pay on the service's website. Note: without a subscription, the bot simply won't execute commands, so don't put off this step.
Where to enter commands
Inside the server, find the #newbie or #general channels—they are reserved specifically for beginners. That's where you should send commands to generate images. Don't clutter other channels: the community has its own rules, and breaking them can get you banned.
Creating your first image
Now that you have access to MidJourney, let's move on to practice. The generation process takes less than a minute, but there are a few nuances.
The /imagine command
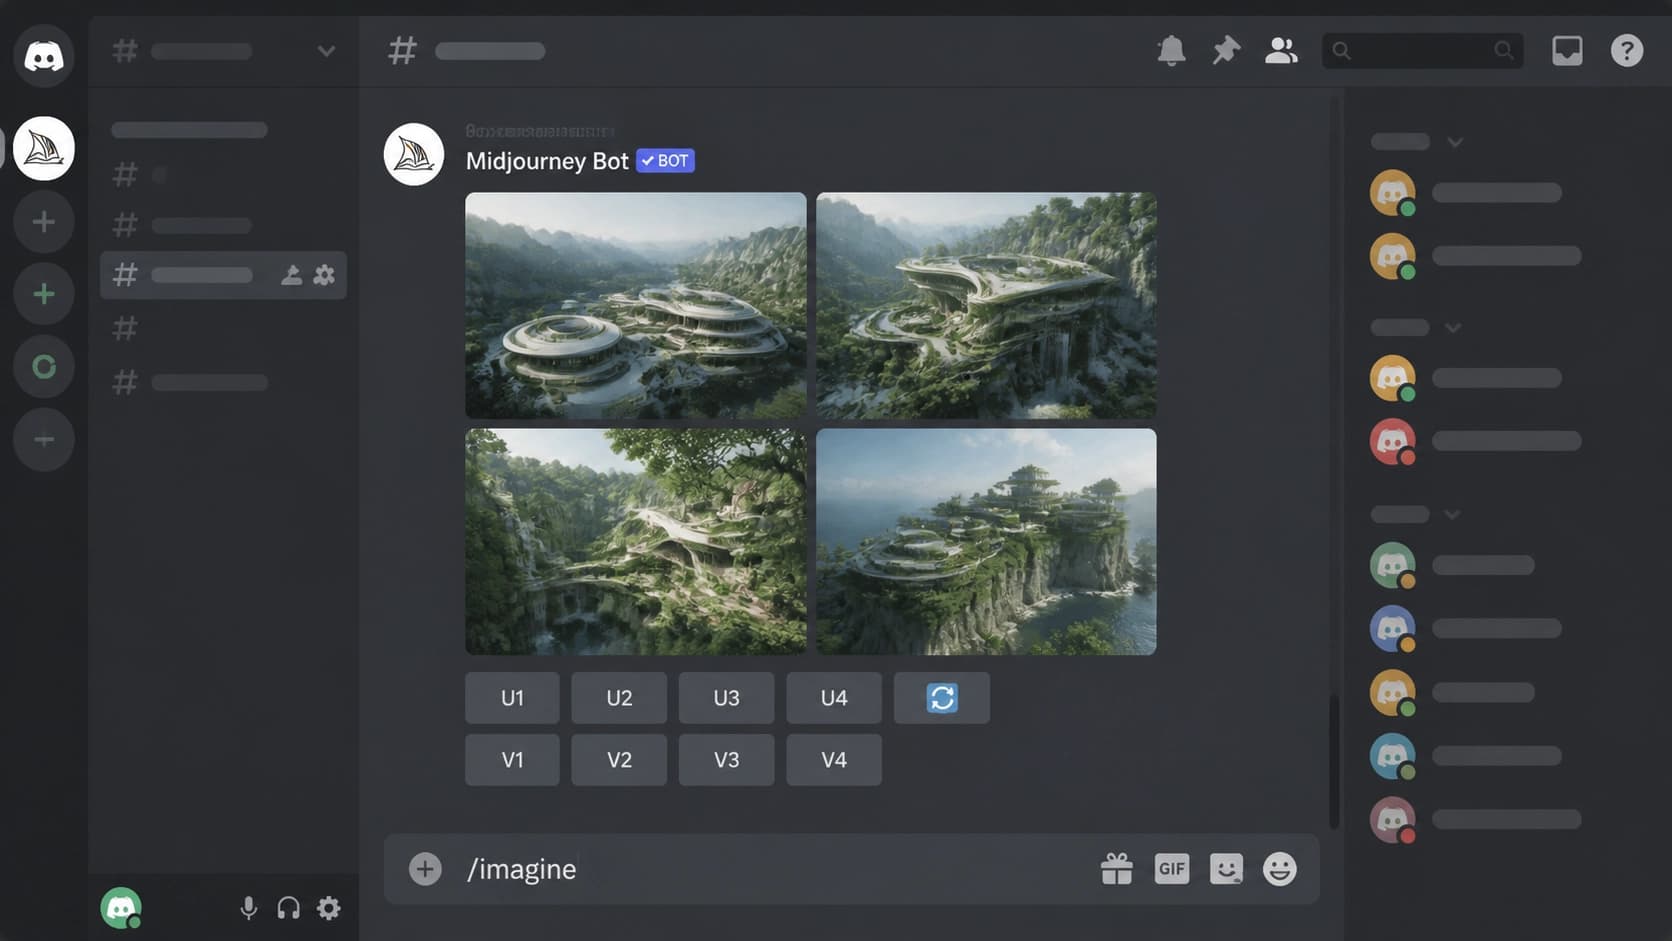
Open a beginner channel and type the /imagine command with your prompt. For example: /imagine a sunset over a mountain—and the bot will start processing. A few seconds later, four image options will appear for you to choose from. It's important not to expect perfection right away: the first generation is a draft you can work with.
Improving the result
Below each set of images there are buttons. The buttons with the letter U (upscale) enlarge the selected image to full resolution. The V (variations) buttons create similar variations based on the selected image. This way, you can gradually refine the result until you get what you need. For example, first select the image you like with the V button, then choose the best one from the new options, and upscale it with the U button.
To save an image, click on it—the full version will open. Then right-click and choose “Save image as…” (or a similar option). Done: the image will stay on your device.
Tips for beginners
To avoid disappointing results, it's worth remembering a few principles of working with MidJourney. They are based on how the neural network understands text.
Be specific
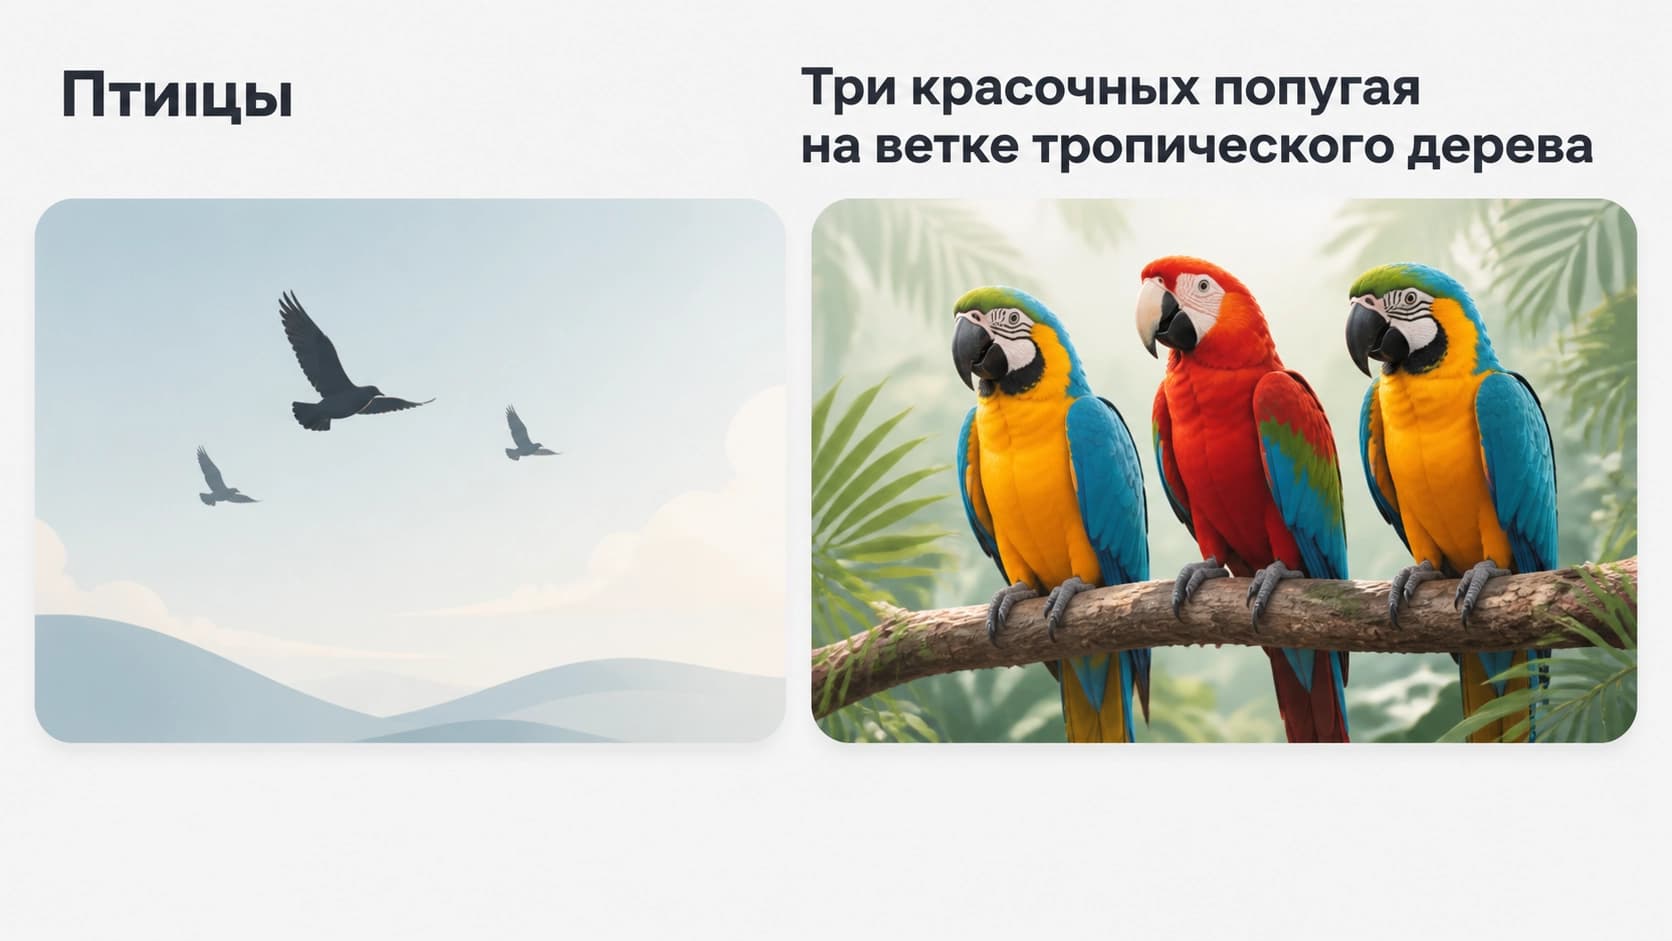
Short descriptive phrases work better than long sentences. Instead of “birds,” write “three colorful parrots on a branch of a tropical tree”—and you'll get exactly what you pictured. The more details, the fewer surprises. But don't overload the prompt: try to fit the essentials into one or two sentences.
Avoid negations
The neural network handles negations poorly. If you write “no clouds,” it may draw even more clouds. It's better to phrase things positively: “clear sky” or “clean blue sky.” This rule also applies to other negations: instead of “a non-scary dragon,” try “a cute dragon with big eyes.”
Experiment with styles
Add words to your prompt that indicate an artistic style or technique: “cyberpunk style,” “watercolor,” “photorealism,” “minimalism.” You can also specify an era, an artist, or a material—the neural network loves such hints. Don't be afraid to try unexpected combinations: sometimes the strangest ideas produce the best results.
How to read the results
One more tip: don't judge the bot's first response. Look at all four options and look for successful details in them. If none works, try rephrasing the prompt or adding a style. The more you practice, the better you understand how the neural network interprets words.