Grok-2 is not just a language model, but a full-fledged multimodal system, one of whose key functions is image generation. Unlike many narrowly specialized services, Grok-2 AI integrates visual content creation directly into the conversation. This means you can talk to the neural network, refining image details in real time, much like you would with an artist. For users accustomed to working in text interfaces, this tool opens up new horizons: from quickly creating memes and blog illustrations to generating concept art for games and design.
However, like any powerful tool, the image generator requires an understanding of how it works and how to formulate prompts correctly. In this guide, we'll cover how to get access to the feature, what parameters affect the result, and how to avoid typical beginner mistakes. You'll learn how to turn an abstract idea into a finished visual product using Grok-2 as efficiently as possible.
Getting to Know the Grok-2 Ecosystem
Before moving to practice, it's important to understand where this functionality lives. Grok-2 was developed by xAI and is available as part of a subscription to the X platform (formerly Twitter), as well as through some third-party API integrations. Unlike standalone services such as Midjourney, which have their own web interface or Discord bot, Grok-2 is built into the chat interface. This leaves its own distinctive mark on the interaction process.
The main advantage of this approach is contextuality. You can ask Grok to analyze an existing image (for example, an uploaded sketch) and then ask it to create a variation based on it. The model remembers the entire conversation thread, so you can make edits in natural language: "make the background darker", "add another character on the left" — the neural network will understand what you mean without requiring you to repeat the original prompt.
Image generation in Grok-2 is based on a proprietary model trained on a huge dataset with text descriptions. This makes it flexible enough to recognize complex styles — from street art to photorealism. However, the interface remains text-based, so the main skill you'll need to master is the art of writing precise and detailed prompts.
Basic Principles of Crafting a Prompt
The success of image generation depends 90% on how you formulate the task. Grok-2 understands English better than Russian, but modern versions of the model handle Cyrillic quite well. If you want a high-quality result in Russian, try to structure the prompt using simple sentences and avoid ambiguity.
Key components of a prompt
To make the model "understand" your idea, the prompt should cover three things:
- Subject (What or who is in the frame). This is the core of the prompt.
- Angle and composition (Close-up, panorama, top view, portrait, full body).
- Style and mood (Photorealism, watercolor, 3D render, comic-book styling, dark or light palette, "cinematic" atmosphere).
For example, instead of "draw a cat", you should write: "Close-up of a fluffy ginger cat sitting on a windowsill. Lighting: rays of the setting sun. Style: photorealism, depth of field, warm color palette." The more specifics you provide, the less room there is for the neural network's "imagination", which may not suit you.
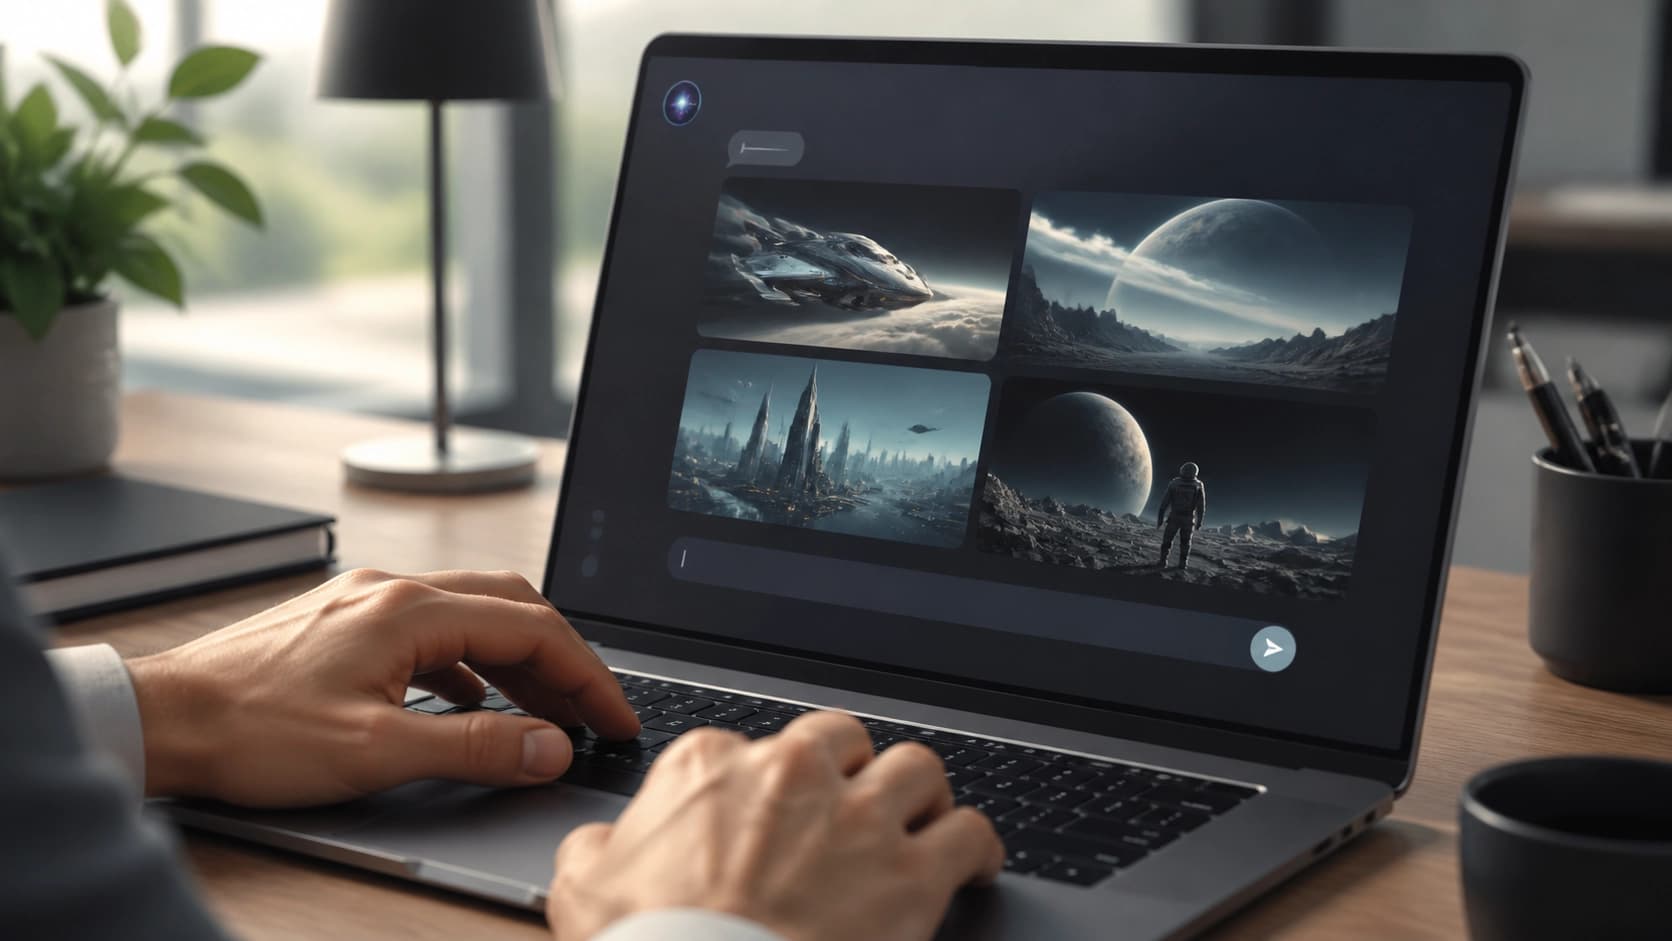 ### Using Negative Prompts
Grok-2 doesn't have a dedicated field for a "negative prompt" (like Stable Diffusion), but you can use text instructions to rule out unwanted elements. Simply add a phrase like "without water" or "don't include text in the image" at the end of the prompt. The model is trained to respond to such clarifications. It is especially useful to specify "no text", because AI often tries to insert distorted lettering on signs or posters inside the image, which hurts realism.
Step-by-Step Guide to Creating Your First Image
Let's walk through the path from an idea to a finished picture. This process works for both the X web version and the mobile app.
Step 1. Open a chat with Grok-2. Make sure you're logged in to the X platform and have the appropriate subscription activated (the free tier usually limits the number of requests or doesn't give access to advanced features).
Step 2. Upload a reference (optional). If you have a sketch, photo, or other image that can help the model understand the style, click the paperclip or media upload icon and attach it to the message.
Step 3. Write your prompt in the text field. Describe the desired image in as much detail as possible, following the principles described above. Example prompt:
"Image generation: portrait of a cyberpunk detective in a trench coat, close-up, neon sign reflected in raindrops on glass, style: anime-style illustration, dark background, cinematic lighting. No corrupted artifacts, high quality".
Step 4. Send the message and wait for the result. Processing usually takes 10 to 30 seconds. In its reply, Grok will provide you with one or more images and may also include a text comment explaining its choices.
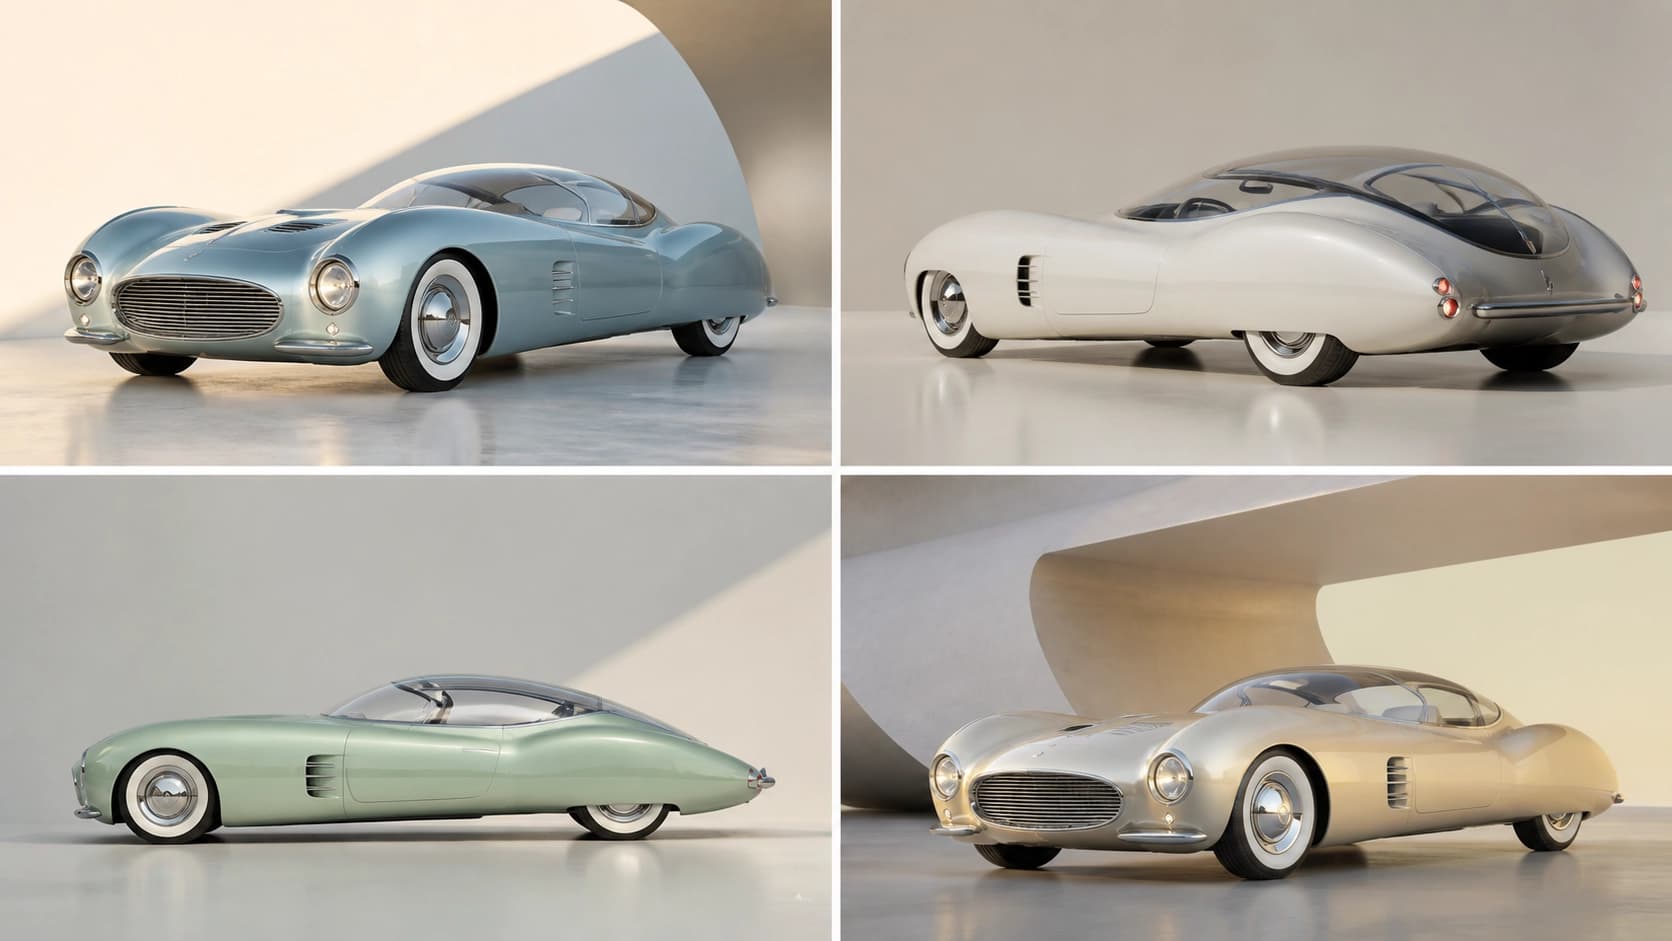 Step 5. Ask for edits. If you're not satisfied with the result, you don't need to create a new prompt from scratch. Write in the same chat what exactly should be changed. For example: "Show it from behind" or "Remove the person from the background." Grok-2 interprets your request in relation to the image just created and generates a new version.
Working with Variations and Styling
After getting the first result, the most interesting part begins — fine-tuning. Grok-2 lets you perform several types of image manipulations without leaving the chat.
Changing the Style on the Fly
You can ask the model to completely redraw the image in a different style. Just write: "Now turn this into a 3D Pixar model" or "Make a black-and-white 1920s photograph version." The model will rework the composition while preserving the key elements (objects, poses, characters).
Focusing on Details
If the overall concept is good, but you want to detail a specific area (for example, enlarge the eyes in a portrait or change the texture of a wall), you can use the selection tool. On the X platform, you can select part of the image with a frame or a circle (similar to how selection works in some other neural networks). Mark the area and write a prompt: "Change only this area: add a tree here." Grok-2 will understand that there's no need to change the entire canvas and will focus on the selected fragment.
Creating "Inpainting" and "Outpainting"
- Inpainting (area replacement): You select a fragment and ask "remove the logo from this spot" or "draw a vase here." Grok-2 reconstructs the pixels in that area.
- Outpainting (canvas extension): You ask "extend this image to the right, add more sky." The model draws the continuation of the scene while preserving the style and lighting logic.
These features make Grok-2 not just a generator, but a full-fledged photo editing tool driven by text commands.
Typical Mistakes and How to Fix Them
Even experienced users sometimes encounter the model "glitching." Most often this happens for the following reasons:
- Overloading with details. Too many objects in a single prompt cause the model to "forget" to depict something or render it distorted. Solution — break the task into parts: first create the background, then add the object with a prompt like "now add to the background...".
- Contradictory instructions. Don't ask for a "tall skyscraper" and an "old town