What is CapCut and why it deserves your attention
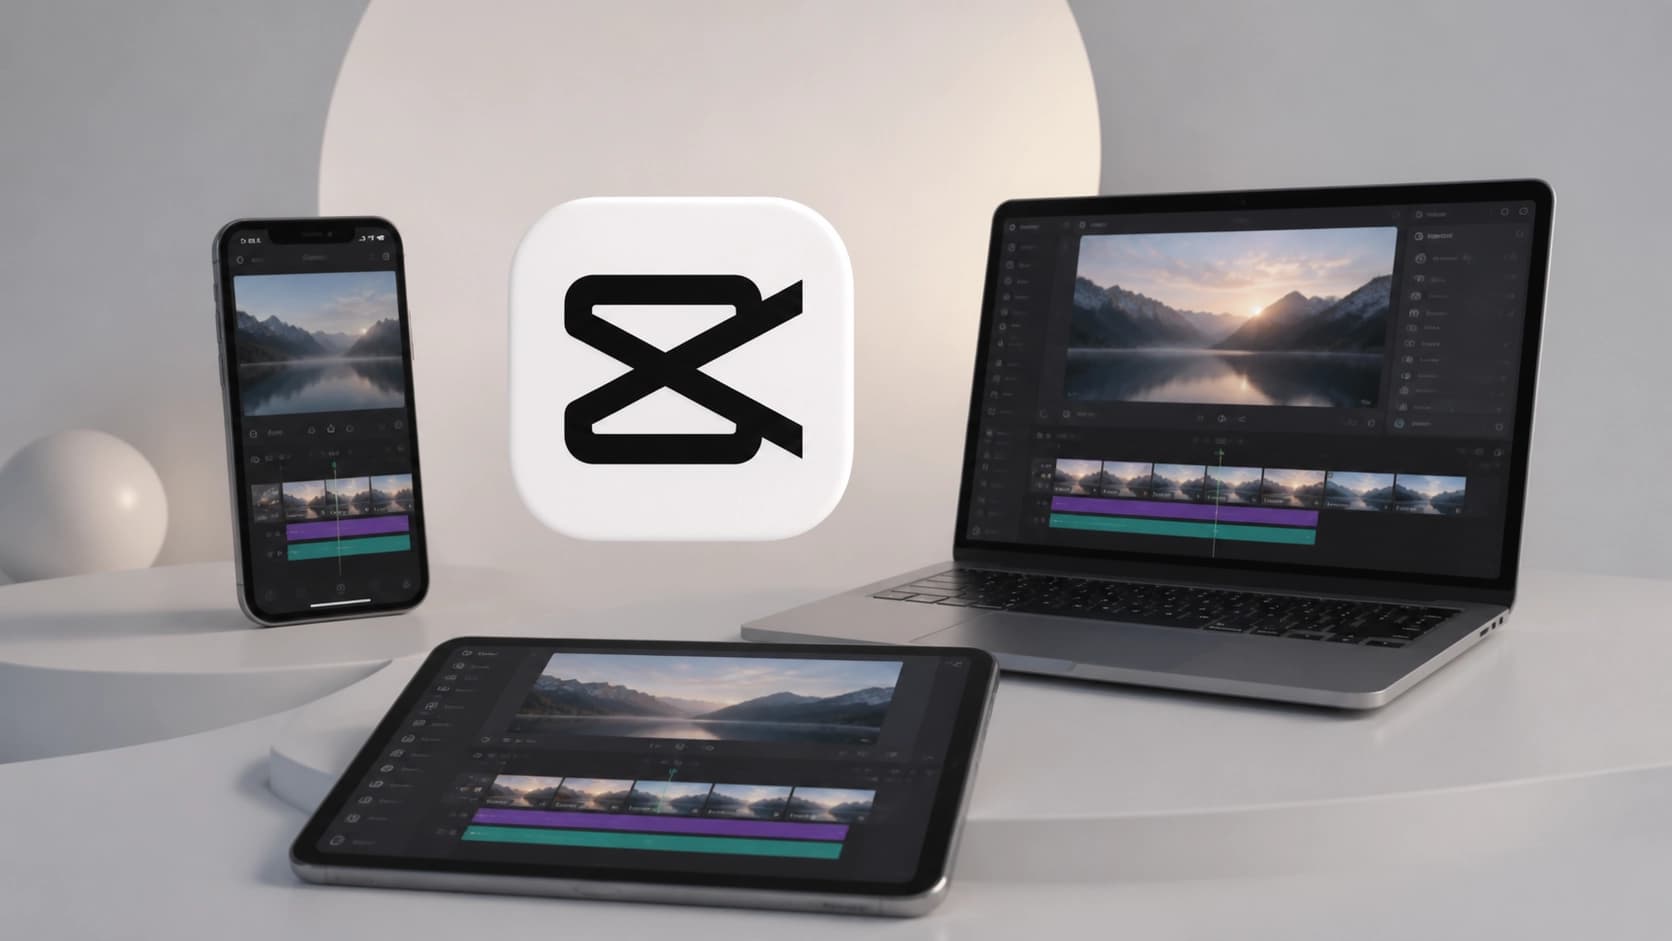
CapCut is a video editor created by ByteDance, the same company behind TikTok. The app appeared in 2019 and has since become one of the most popular free editing tools. It's available on Android and iOS smartphones, Windows and Mac computers, and right in the browser — so it works on any platform you're used to working on.
The main plus for beginners is the price. The basic functionality is completely free, and the Pro subscription unlocks additional features, but it's not required at all for your first steps. At the same time, in terms of features, CapCut is almost on par with professional editors: it offers trimming, cutting, ready-made templates, transitions, filters, animation, and even background removal. Plus, there are automatic subtitles and text-to-speech, which is especially useful for short vertical videos.
Installation and first launch
Getting started with CapCut is as easy as pie. On mobile, go to the App Store if you have an iPhone, or Google Play on Android, and download the app. On a computer, go to the official CapCut website and choose the version for Windows or Mac. If you don't want to install anything, you can open the CapCut web version right in your browser — just visit the site and sign in.
After installation or opening it in the browser, you'll need to create an account or log in via email or social networks. Why is that needed? An account gives you access to cloud storage for projects and synchronization between devices. Without one, you can still edit, but you won't be able to save a project to the cloud and return to it later from another device.
Creating a project and importing materials
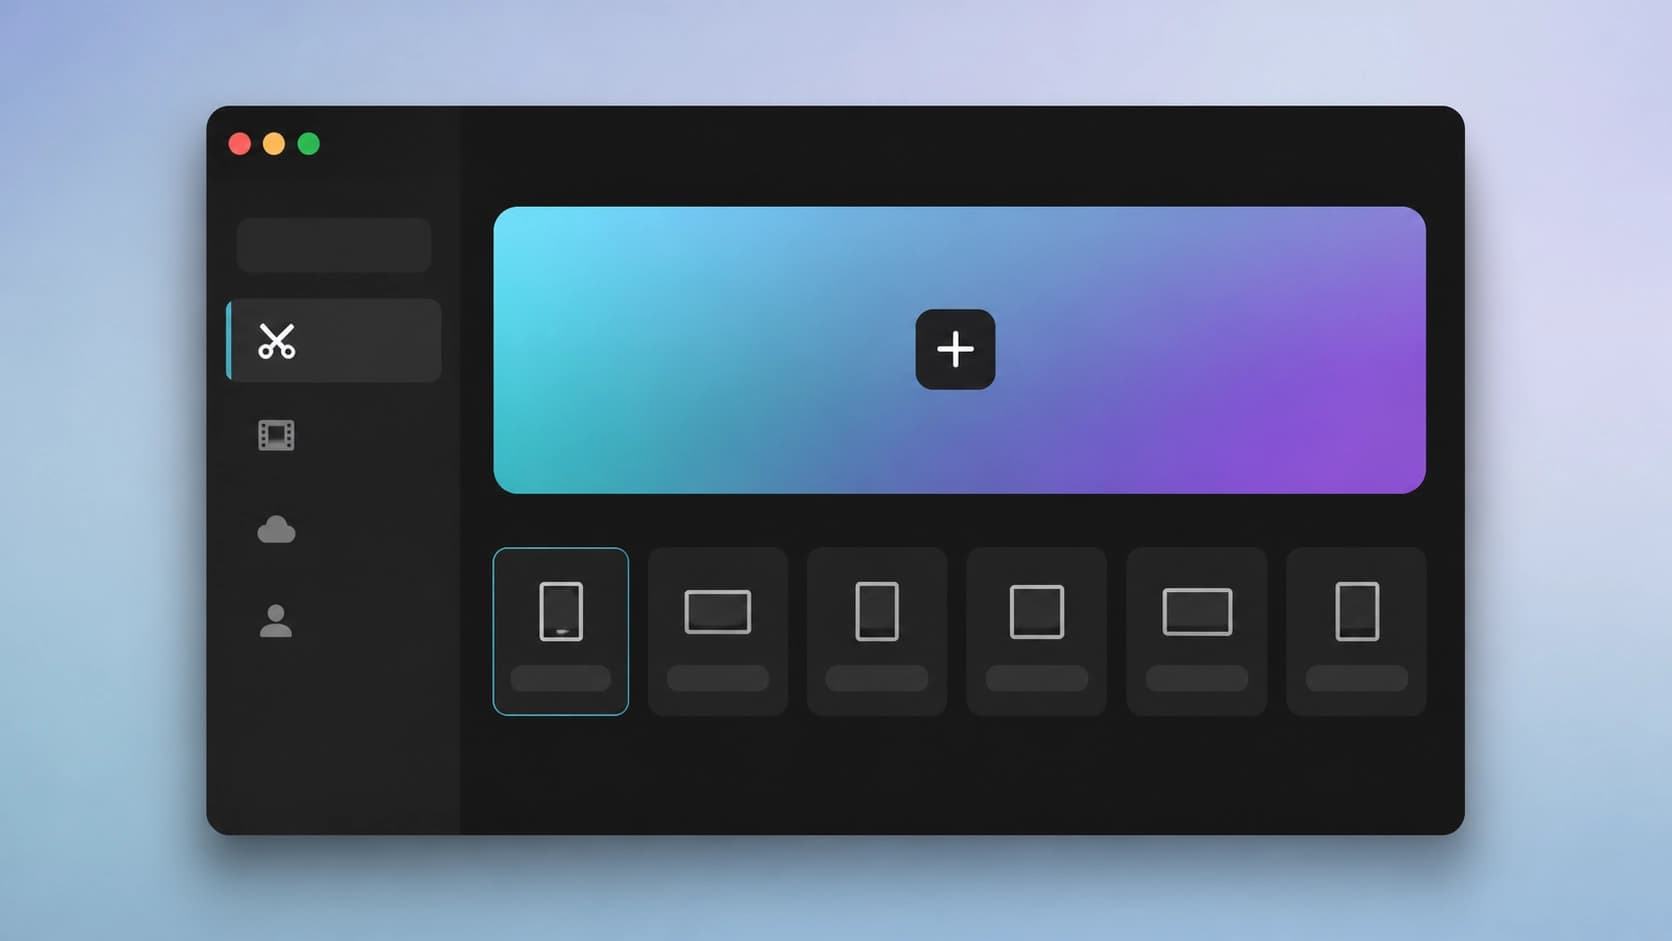
Once your account is ready, click "New Project" and you'll be taken to the new project settings. The first step is to choose the aspect ratio. This determines how your video will look on a particular platform. For TikTok or Instagram Reels, people usually choose the vertical 9:16 format, for YouTube — horizontal 16:9, and for Instagram posts — square 1:1. You can also select a ready-made preset for a specific social network — CapCut will offer the needed size automatically.
Next, click the "Import" button and upload your media files: videos, images, and audio. The materials will appear in the media library, from where you can drag them onto the timeline. There you can also change their order, trim the excess, split a single clip into several parts, and adjust the duration.
Timeline editing basics
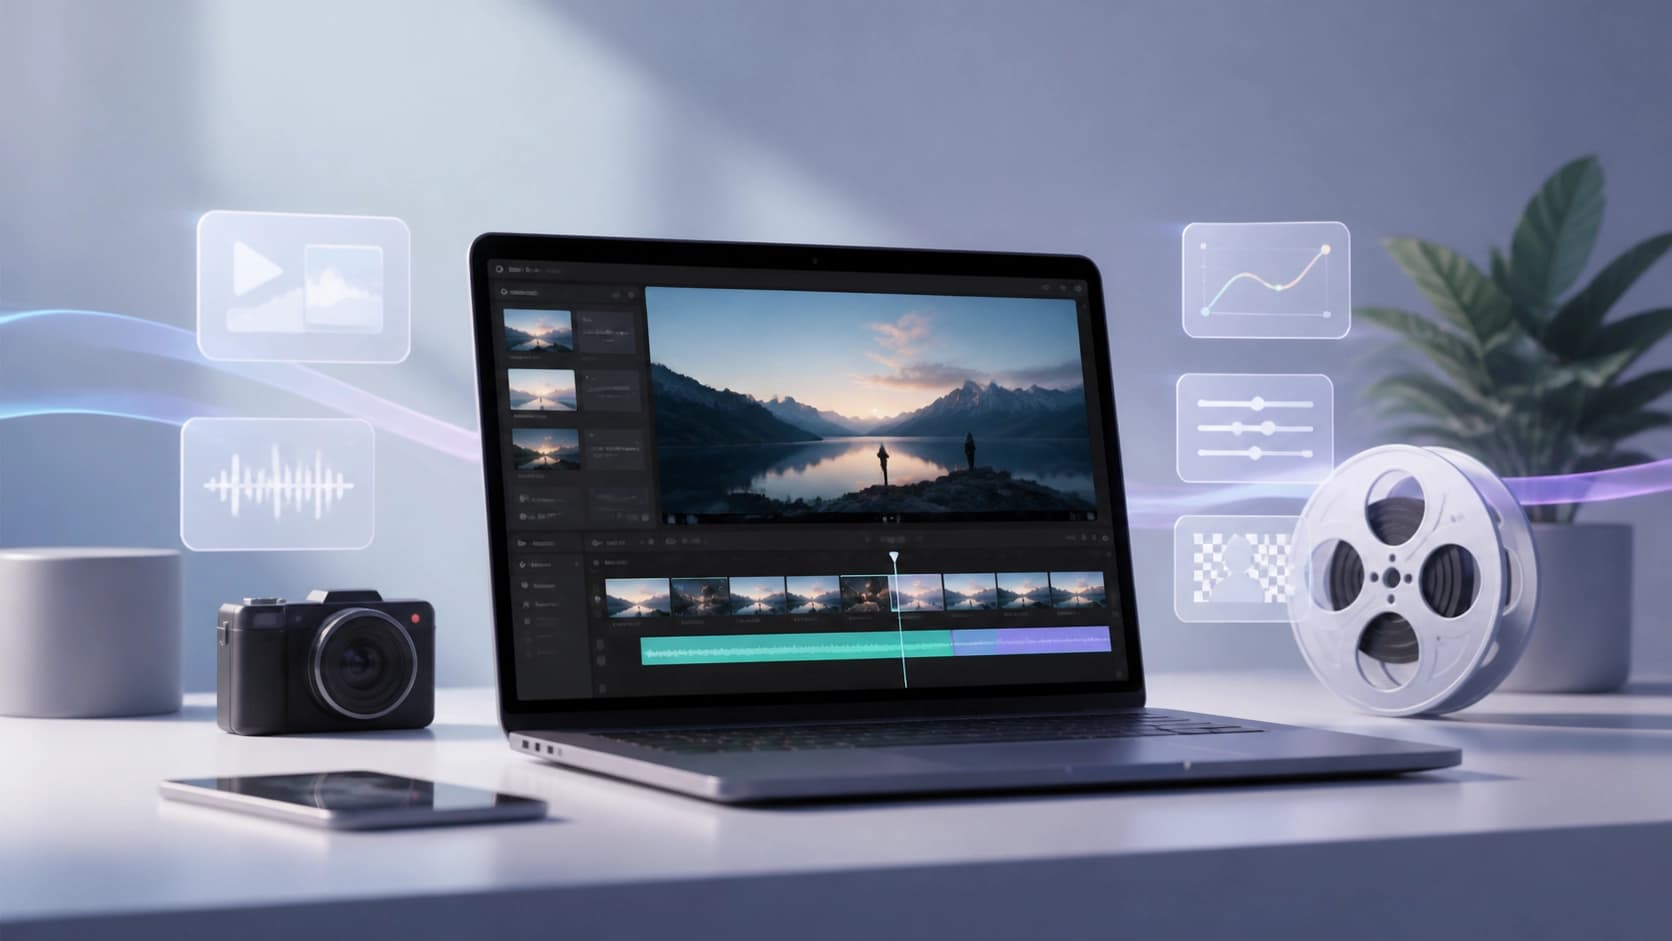
The timeline is a workspace where you assemble a video from individual pieces. Simply drag clips onto the track and arrange them in the desired order. To remove an unnecessary fragment, use the trim tool: place the playhead at the right spot, split the clip, and delete the excess part. This approach lets you quickly cut a video together without extra movements.
Between clips, you can add transitions — smooth video effects that hide abrupt scene changes. Transitions come in different types, from simple fades to creative animations. You can also apply a filter or effect to each clip to set the mood and style. Animation lets you bring static images or text to life by adding movement.
Advanced features for beginners
It may sound intimidating, but CapCut has features that automate complex tasks. One of them is automatic subtitles: the app recognizes speech in the video and generates text tracks with timecodes. All you need to do is fix typos and choose a display style. This is a huge time-saver if you make videos for social media.
Another useful feature is text-to-speech, in other words, voicing text with a synthesized voice. You write a line, choose a voice, and CapCut turns it into speech. It's perfect for videos with a voiceover when you don't want to record your own voice. Finally, there's smart background removal: it lets you cut out an object or person from a frame without using a chroma key. For a beginner, this is a huge plus, because such operations used to require professional editing skills.

Keyframe animation is also worth mentioning. With it, you can smoothly move objects, changing their size and position in the frame at different moments in time. Hover over the clip, set a keyframe, then move the object — and CapCut will create the smooth motion between the points on its own. This opens up plenty of room for creativity even without deep knowledge of animation.
Export and publishing
When the editing is done, it's time to export the result. Press the export button — it's usually located in the top-right corner. CapCut lets you choose the resolution and quality of the output file. 1080p is enough for social media, but if you're planning a large screen or further processing, you can choose a higher value. After export, the video will be saved to your device, and you can immediately publish it to TikTok, Instagram, or another platform.
It's important to remember that even the free version of CapCut gives you access to most of the features described. Don't be afraid to experiment: create projects, click buttons, and see what happens. Practice is the best way to quickly master the editor.